Most damaged walls don’t need to be rebuilt. That’s worth saying up front, because the instinct when a wall looks bad is to assume the whole thing has to come out, and that instinct is expensive. Drywall repair in New York is usually the right call, and the exceptions are narrower than people think. But the exceptions are real, and patching something that should have been replaced means paying for the same wall twice. The decision comes down to three questions: what caused the damage, how far did it travel, and what’s actually behind the surface. In older New York buildings that last question matters more than anywhere else, because a lot of what looks like drywall is plaster and lath, and it behaves completely differently. This article walks through the decision, including what changes the answer in prewar construction and what a proper repair looks like when it’s done right.
What Caused It Changes Everything
Impact damage is the easy case. A doorknob through the wall, a moved appliance, a hole from a mounted shelf. The surrounding material is dry and sound, so you cut a clean square, back it, patch it, and it’s done. Water damage is the hard case, because the visible stain is never the full extent. Water travels along the back of the board and into the framing cavity, which means what looks like a two-foot stain can be four feet of saturated material. Cracking is a third category and often the most misread. In prewar buildings, hairline cracks at corners and above doorframes are usually settlement, not failure. They come back after patching unless somebody addresses the movement, which is a different conversation entirely.
How Far Did It Travel
This is the question that actually decides repair versus replacement, and you can’t answer it from the surface. Press on the material around the visible damage. Sound drywall resists. Saturated drywall gives, crumbles, or feels spongy. Check above and below, since water runs down and wicks up. Look at the baseboard and the trim, which swell before the wall shows anything. If the compromised area is contained within a couple of feet, you’re in repair territory: cut back to sound material, back it properly, tape, three coats of compound, sand, and it disappears. If it spans multiple studs, reaches the floor, or the insulation behind it is wet, you’re replacing the section. Patching over wet material just relocates the problem.
Plaster and Lath Changes the Math
A lot of older New York buildings aren’t drywall at all. They’re plaster over wood lath, and treating them like drywall produces bad results. Plaster is harder, more brittle, and bonded to lath behind it. When it fails, it usually fails because the plaster keys separating from the lath, not because the surface cracked. Patching the surface without reattaching the plaster to the lath means the patch pops within a season. The repair is also different in thickness, texture, and finish, so a drywall patch in a plaster wall reads as a flat spot even after painting. It’s still usually repairable, and worth repairing, because replacing plaster with drywall changes wall depth and creates trim problems around every opening.
What a Proper Repair Looks Like
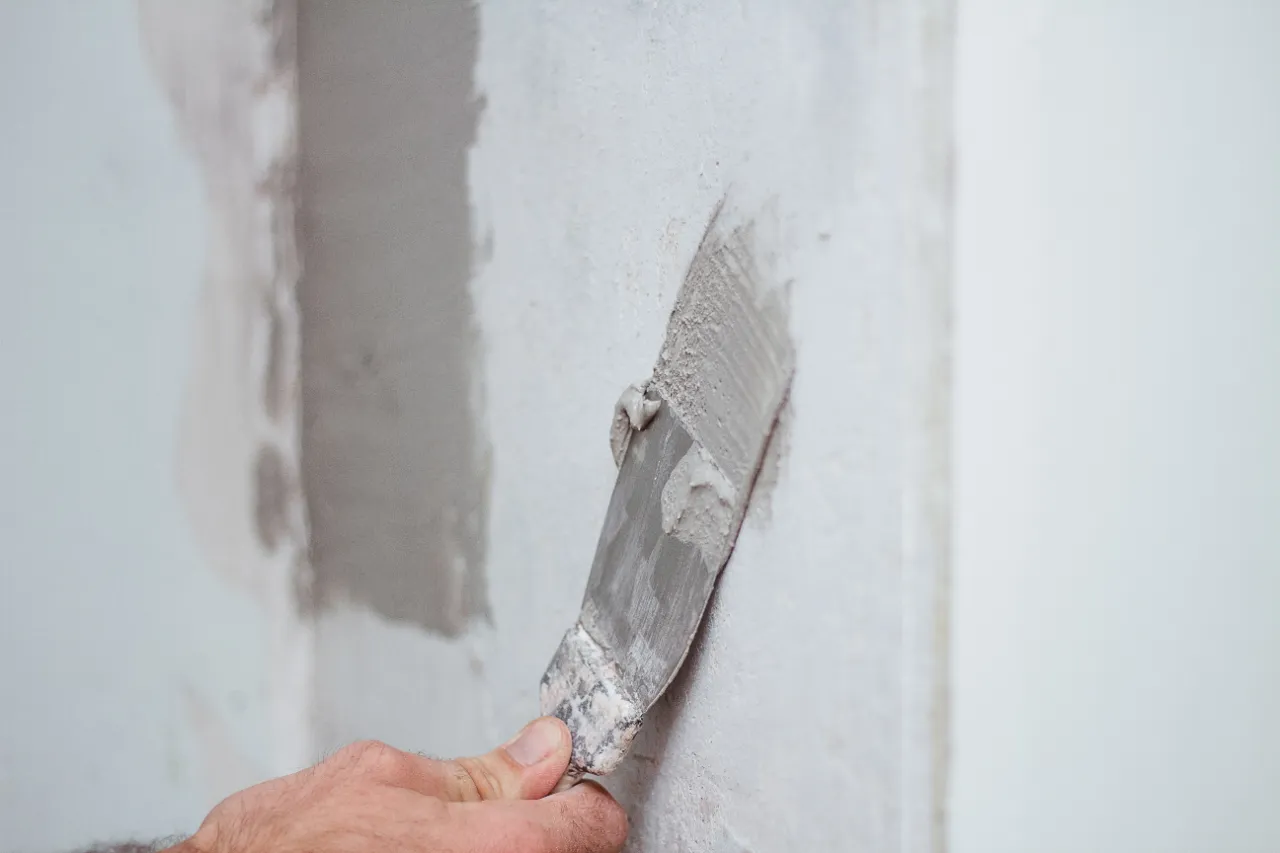
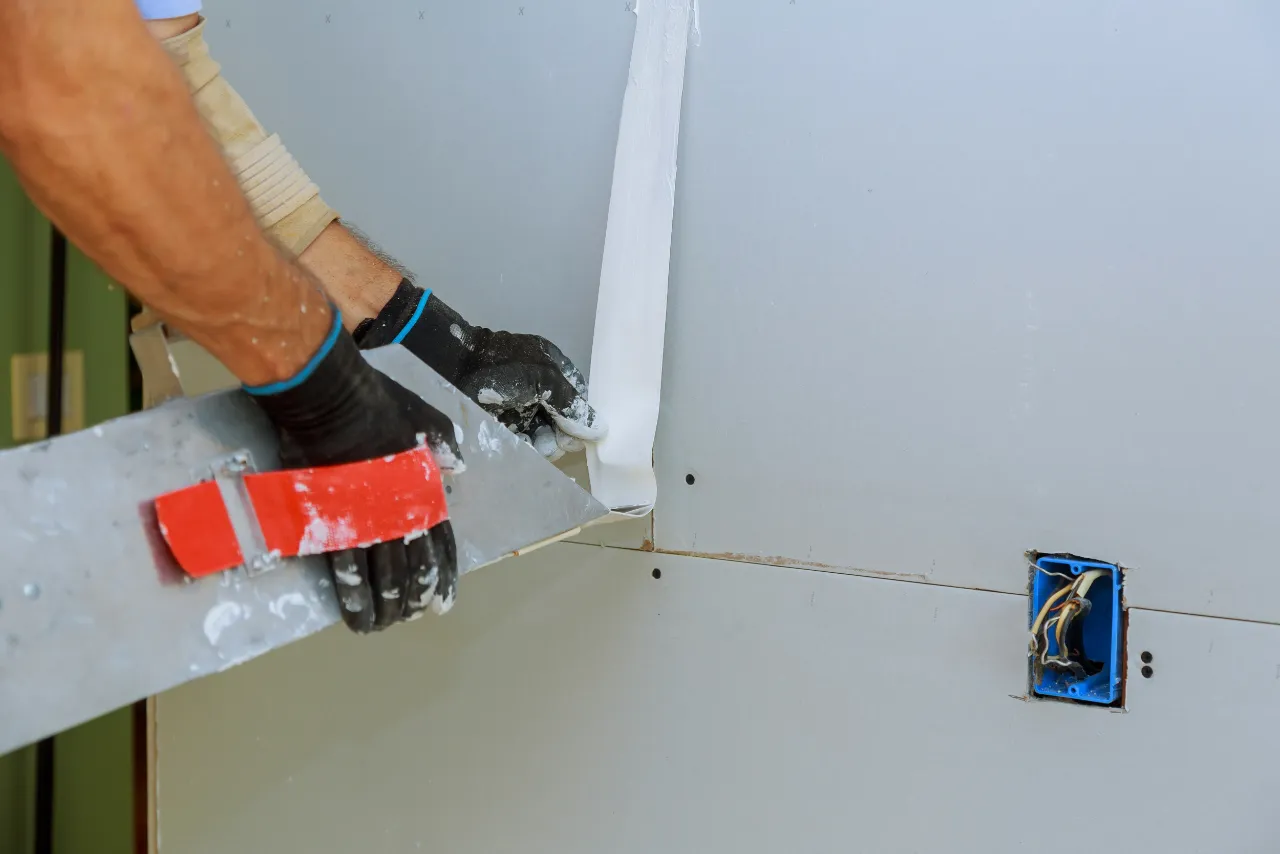
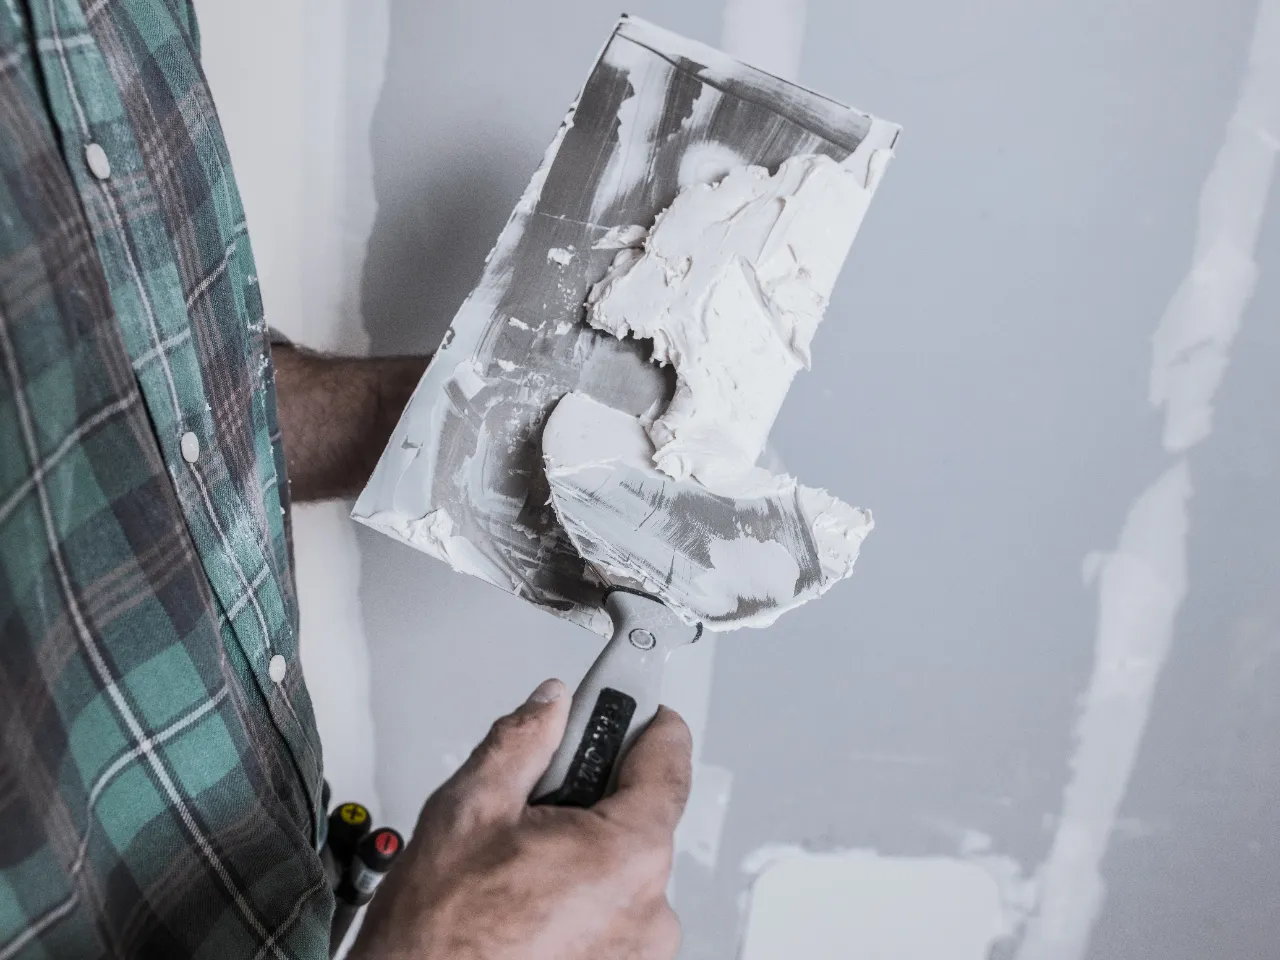
Cut back to sound material with clean square edges, not torn ones. Back the opening so the patch has something to sit on. Fill, tape, and then three coats of compound, each one wider than the last, feathered out well past the seam. Sand between coats. The finish should be flat under a work light held at an angle, because that’s exactly how it will look under a window at four in the afternoon. Then prime the patch before painting, since fresh compound absorbs paint differently than the surrounding wall and skipping primer leaves a visible halo. The whole point is that a finished repair should be invisible. If you can find it, it isn’t finished.